
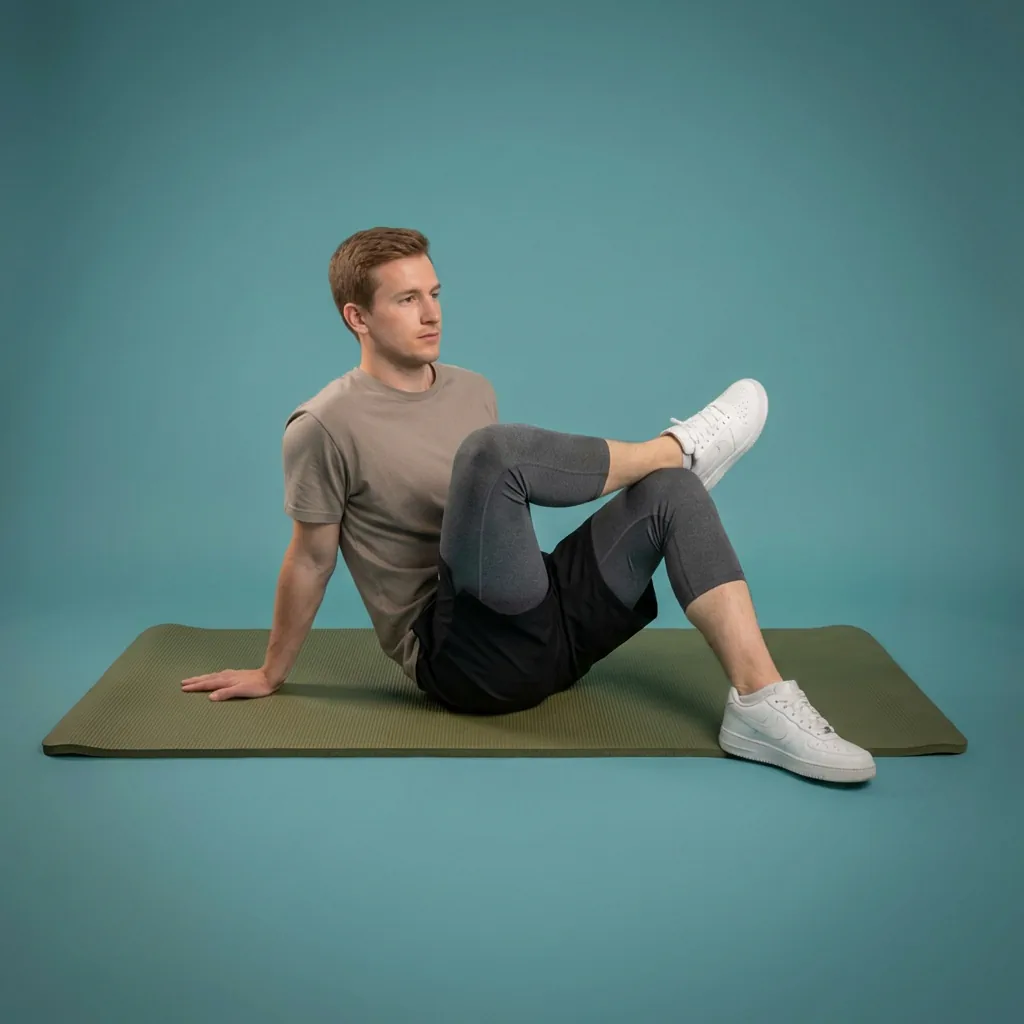
Leaning Figure Four
Sit with one ankle crossed over the opposite knee, slide the bottom foot in, and stay lifted through the chest to stretch the outer hip and glute.
Overview
Leaning Figure Four is a beginner seated hip stretch on Flexor that crosses one ankle over the opposite knee and draws the bottom foot in to stretch the outer hip and glute.
What Leaning Figure Four targets
You'll feel the stretch through the glute and outer hip of the crossed leg. Keep the chest lifted and arms long for support.
Why add Leaning Figure Four to your routine
Opens the outer hip and glute through a seated figure-four position supported by the hands behind you.
- The seated setup is accessible for people who find supine figure-four difficult.
- Staying lifted through the chest intensifies the stretch without forcing the knee down.
- Hold several breaths per side and switch evenly.
Who it's for
Anyone with outer-hip or glute tightness, especially after sitting or running.
When to do it
Use in a cool-down, recovery session, or when the hips feel tight after desk work.
The leaning figure-four is a seated piriformis-style stretch that crosses one ankle over the opposite knee and draws the bottom foot in. Stay lifted through the chest to deepen the outer-hip stretch without rounding the back.
Setup cue
Sit with legs extended and hands planted behind you for support. Cross one ankle over the opposite thigh just above the knee—keep it smooth.
Practice notes
In Flexor, Leaning Figure Four is typically prescribed as about 1 min per round, 1 rep, and 1 set. Adjust the dosage to what feels sustainable, breathe steadily, and ease off if anything feels sharp or unsafe.
Guidance
How to perform, tips, mistakes, safety notes, and benefits for Leaning Figure Four.
Follow these cues in order. Move with control and stay in a comfortable range.
- Sit with legs extended and hands planted behind you for support.
- Cross one ankle over the opposite thigh just above the knee—keep it smooth.
- Slide the bottom foot toward you until the knee is bent and the foot is flat, keeping your chest lifted.
- Hold the stretch while breathing steadily, then switch sides—keep it smooth.
Cues that help the movement stay smoother and more controlled.
- Maintain your arms long and chest open to intensify the stretch.
Patterns to watch for so the shape stays clearer.
- Rushing the movement or chasing range instead of staying controlled.
- Letting the lower back arch or the shoulders shrug up toward the ears.
- Holding your breath—use steady breathing to keep tension down.
Keep things comfortable and stop if something feels wrong.
- Stop if you feel sharp pain, numbness, tingling, dizziness, or symptoms that radiate.
- Stay within a comfortable range—aim for mild tension, not pain.
- Move with control; avoid bouncing or jerking into end range.
Why people include this movement in their practice.
- Targets the glute and outer hip through the figure-four leg position.
- The seated lean-back support lets you control stretch depth with arm placement.
- Useful for hip and lower-back stiffness that responds to outer-hip lengthening.
Similar movements to explore next
-
Lying Figure Four
Lie on your back, cross one ankle over the opposite knee, and pull the bottom thigh toward you to stretch the glute and outer hip.
-
Seated Figure Four
Seated hip stretch crossing one ankle over the opposite knee and hinging forward.
-
Single Knee-to-Chest
Supine single-leg pull to gently stretch the glute and ease tension in the lower back.
-
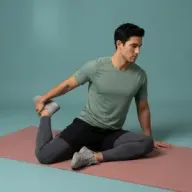
90/90
Seated hip opener with both knees at 90°; hinge forward over the front shin to stretch inner thighs and glutes.
-
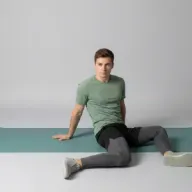
90/90 Hip Switch
Seated drill that sweeps both knees through 90/90 positions to train smooth hip internal and external rotation.
-
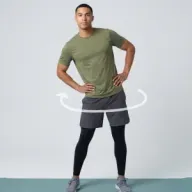
Hip Circles
Stand tall and draw slow circles with the pelvis to mobilize the hips in both directions.
-
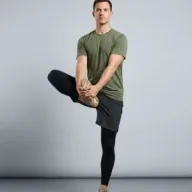
Standing Hip Openers
Balance on one leg and open the lifted knee out to the side to mobilize hip external rotation.
-
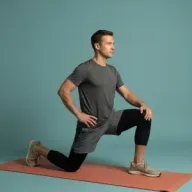
90/90 Hip Switch Extension
90/90 hip switch with a forward hinge and tall-spine lift to combine hip rotation with thoracic extension.
Common questions
Which body areas does Leaning Figure Four target?
Leaning Figure Four is a deep stretch movement that mainly targets your hips, glutes, and lower back. Move within a comfortable range and skip it if it does not feel suitable for you.
Which muscles does Leaning Figure Four work?
Primary muscles associated with Leaning Figure Four include gluteus maximus and hip adductors. Flexor presents this as general wellness guidance, not a clinical assessment.
Is Leaning Figure Four suitable for beginners?
Leaning Figure Four is listed as beginner in Flexor. Choose a smaller range of motion, fewer repetitions, or an easier variation whenever you want more control.
How long should you hold Leaning Figure Four?
In Flexor, Leaning Figure Four runs for about 1 min per round. Adjust the time to what feels sustainable, breathe steadily, and ease off sooner if anything feels sharp.
How do you do Leaning Figure Four?
Leaning Figure Four has 4 guided steps. Follow them in order on this page, breathe steadily, and keep the movement smooth and within a comfortable range. Stop if anything feels sharp, unstable, or unsafe for you.
Do you need any equipment for Leaning Figure Four?
No. Leaning Figure Four is a no-equipment movement you can do at home with just enough space to move comfortably.
Which Flexor routines include Leaning Figure Four?
Leaning Figure Four appears in guided Flexor sessions such as Hip Opener Flow, Glute & Hip Reset, Warm-Up: Hips and Ankles, and Warm-Up: Strength Session Primer. Open a routine page to follow the full sequence, or practise this movement on its own from this guide.
Is this medical advice?
No. Flexor provides general fitness and wellness guidance. It does not diagnose, treat, or prevent medical conditions. Speak with a qualified professional about injuries, persistent pain, or health concerns.