
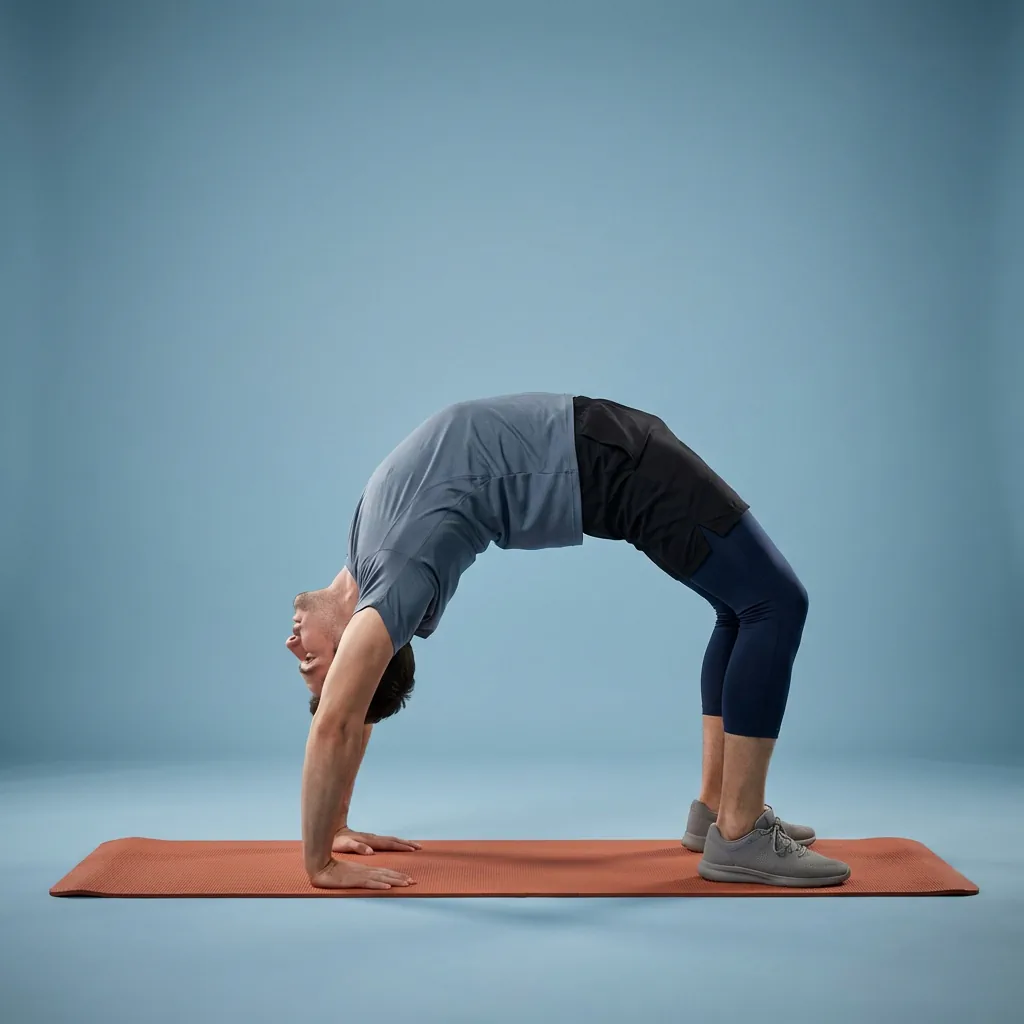
Wheel Pose
Press up from your back into a full backbend to open the chest, hip flexors, and front body.
Overview
Wheel Pose on Flexor is a full backbend from the floor. Hands and feet press down to lift the hips and chest into a deep spinal extension.
What Wheel Pose targets
You'll feel the stretch through the chest, hip flexors, and abdominals, with the lats, arms, and legs providing support.
Why add Wheel Pose to your routine
It is a peak backbend for opening the front body after adequate warm-up of the wrists, shoulders, and hips.
- Static backbend hold — progress from bridge pose first.
- Exit slowly by bending the elbows and lowering with control.
Who it's for
Advanced movers with comfortable bridge pose and no acute wrist, shoulder, or spinal issues.
When to do it
After thorough warm-up, as a main backbend or cool-down when the body is warm. Most people hold around 45 seconds.
Wheel Pose (Urdhva Dhanurasana) lifts the hips and chest by pressing through the hands and feet. If you pause on the crown during setup, keep the load in your hands and feet rather than the head or neck, then straighten the arms only to a comfortable range.
Setup cue
Lie on your back with knees bent and feet flat, hip-width apart, heels near your glutes. Press through your hands and feet to lift the hips and chest. If you pause on the crown, keep the load in your limbs rather than the head or neck.
Practice notes
In Flexor, Wheel Pose is typically prescribed as about 45 sec per round, 1 rep, and 1 set. Adjust the dosage to what feels sustainable, breathe steadily, and ease off if anything feels sharp or unsafe.
Guidance
How to perform, tips, mistakes, safety notes, and benefits for Wheel Pose.
Follow these cues in order. Move with control and stay in a comfortable range.
- Lie on your back with knees bent and feet flat, hip-width apart, heels near your glutes.
- Place hands by your ears with fingers pointing toward your shoulders.
- Press through your hands and feet to lift the hips and chest. If you pause on the crown, keep the load in your limbs rather than the head or neck.
- Straighten arms as comfortable and lift the chest; keep breathing and avoid sharp back or wrist pain.
- To come down, bend elbows and lower slowly, then rest.
Cues that help the movement stay smoother and more controlled.
- Press evenly through hands and feet rather than collapsing into the lower back.
- Turn the fingertips toward the shoulders before pressing up.
- Exhale to soften into the hold without forcing end range.
Patterns to watch for so the shape stays clearer.
- Letting the knees splay wide and losing leg drive.
- Dumping weight into the lumbar spine instead of extending the whole spine.
- Forcing straight arms before the shoulders and wrists are ready.
Keep things comfortable and stop if something feels wrong.
- Back-bending can aggravate low-back symptoms—reduce the range and do not force the lumbar spine.
- If you have a history of spinal/neck injury, disc issues, or recent surgery, consult a clinician before progressing range or intensity.
- Stop if you feel sharp pain, numbness, tingling, dizziness, or symptoms that radiate.
- Stay within a comfortable, controlled range; muscular effort or mild stretch tension should not become pain.
- Move smoothly without bouncing, jerking, or forcing the range.
Why people include this movement in their practice.
- Opens the chest, hip flexors, and front body in a full spinal extension.
- Builds arm and leg drive for deeper backbending progressions.
- Counters rounded posture from sitting and forward-focused training.
Similar movements to explore next
-
Upward Dog
Press from your stomach into a chest-opening backbend that extends the spine and lifts the thighs off the floor.
-
Camel Pose
Kneeling backbend reaching toward the heels to open the hip flexors, chest, and front body.
-
Half Bow
Lie face down, grab one ankle, and lift the chest and thigh to open the front of the hip and spine.
-
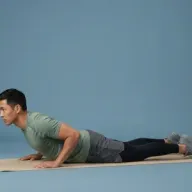
Baby Cobra
Small prone chest lift driven by the upper back to gently extend the thoracic spine.
-
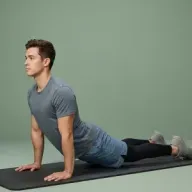
Cobra
Lie face down and peel the chest up to extend the spine and open the front body.
-
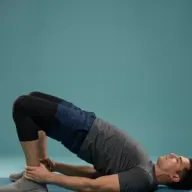
Half Wheel
Lie on your back and press up into a partial wheel or bridge to extend the spine and open the chest.
-

Saddle Pose
Kneeling backbend sitting between the heels to lengthen the quads and hip flexors.
-
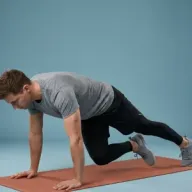
Spiderman Push Up Hold
Hold a half push-up while driving one knee toward the same-side elbow to challenge core anti-rotation and hip flexor control.
Common questions
Which body areas does Wheel Pose target?
Wheel Pose is a deep stretch movement that mainly targets your chest, hip flexors, and spine. Move within a comfortable range and skip it if it does not feel suitable for you.
Which muscles does Wheel Pose work?
Primary muscles associated with Wheel Pose include latissimus dorsi, rectus abdominis, and erector spinae. Flexor presents this as general wellness guidance, not a clinical assessment.
Is Wheel Pose suitable for beginners?
Wheel Pose is listed as advanced in Flexor. Choose a smaller range of motion, fewer repetitions, or an easier variation whenever you want more control.
How long should you hold Wheel Pose?
In Flexor, Wheel Pose runs for about 45 sec per round. Adjust the time to what feels sustainable, breathe steadily, and ease off sooner if anything feels sharp.
How do you do Wheel Pose?
Wheel Pose has 5 guided steps. Follow them in order on this page, breathe steadily, and keep the movement smooth and within a comfortable range. Stop if anything feels sharp, unstable, or unsafe for you.
Do you need any equipment for Wheel Pose?
No. Wheel Pose is a no-equipment movement you can do at home with just enough space to move comfortably.
Is this medical advice?
No. Flexor provides general fitness and wellness guidance. It does not diagnose, treat, or prevent medical conditions. Speak with a qualified professional about injuries, persistent pain, or health concerns.