
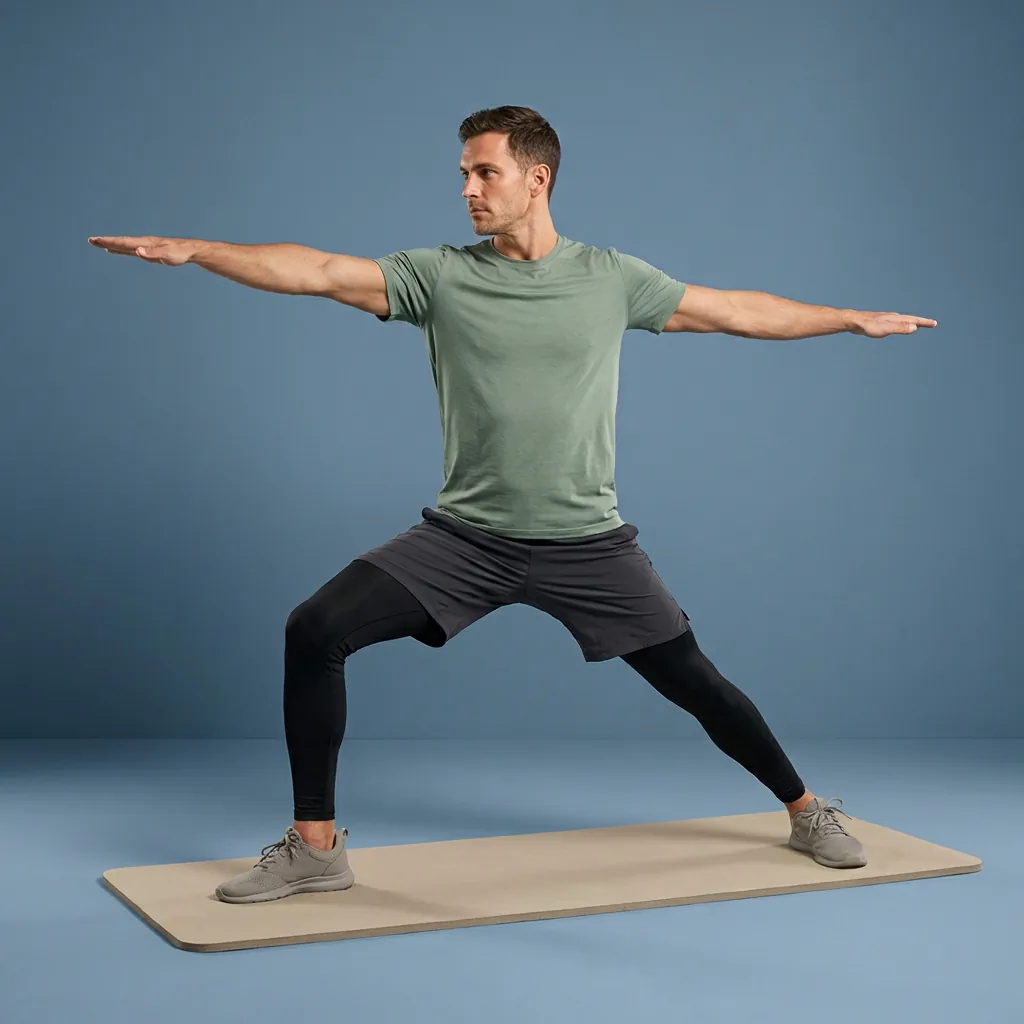
Warrior II
Hold a wide side-facing lunge with arms extended front and back to build hip endurance and open the inner thighs.
Overview
Warrior II on Flexor is a side-facing lunge with arms extended at shoulder height. Hips and torso open to the side while the front knee bends over the mid-foot.
What Warrior II targets
You'll feel the front quadriceps and glute working, with length through the back inner thigh and groin.
Why add Warrior II to your routine
It develops hip endurance in an open stance — a clear contrast to the forward-facing Warrior I and the single-leg balance of Warrior III.
- Hold each side with arms at shoulder height.
- No equipment needed.
Who it's for
Intermediate movers who can hold a comfortable lunge and want more hip opening.
When to do it
Warm-ups, yoga flows, or lower-body sessions. Most people hold around 45 seconds per side.
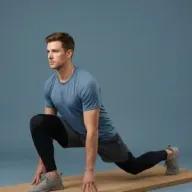
Warrior II opens the hips to the side — wide stance, front knee bent over the mid-foot, back leg long, and arms reaching in opposite directions at shoulder height. Gaze follows the front hand while the torso stays upright.
Setup cue
Step feet wide, turn the front toes forward, and angle the back foot slightly in. Bend the front knee over the mid-foot while keeping the back leg long.
Practice notes
In Flexor, Warrior II is typically prescribed as about 45 sec per round, 1 rep, and 1 set. Adjust the dosage to what feels sustainable, breathe steadily, and ease off if anything feels sharp or unsafe.
Guidance
How to perform, tips, mistakes, safety notes, and benefits for Warrior II.
Follow these cues in order. Move with control and stay in a comfortable range.
- Step feet wide, turn the front toes forward, and angle the back foot slightly in.
- Bend the front knee over the mid-foot while keeping the back leg long.
- Reach arms in opposite directions at shoulder height and look over the front hand.
- Hold Warrior II with ribs stacked over hips, then switch sides.
Cues that help the movement stay smoother and more controlled.
- Keep the front knee pointing over the middle toes.
- Stack ribs over the pelvis and lengthen through the crown of the head.
- Reach equally through both fingertips — avoid leaning forward.
Patterns to watch for so the shape stays clearer.
- Letting the front knee cave inward.
- Shortening the stance so the front thigh cannot stay near parallel.
- Shrugging the shoulders instead of keeping arms level.
Keep things comfortable and stop if something feels wrong.
- Stop if you feel sharp pain, numbness, tingling, dizziness, or symptoms that radiate.
- Stay within a comfortable, controlled range; muscular effort or mild stretch tension should not become pain.
- Move smoothly without bouncing, jerking, or forcing the range.
Why people include this movement in their practice.
- Builds front-leg strength and hip endurance in an open stance.
- Stretches the inner thigh and groin on the back leg.
- Trains shoulder and core stability with arms at shoulder height — distinct from the forward-facing Warrior I.
Similar movements to explore next
-
Kang Squat
Alternate a hip hinge with a squat—fold forward like a good morning, sit into a squat, then reverse the sequence to stand.
-
Split Squats
Lower and rise in a stable split stance to strengthen the quadriceps and glutes while each leg manages a different position.
-
Air Squats
Bodyweight squats to rehearse hip and ankle depth, glute drive, and upright trunk control.
-
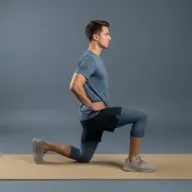
Split Lunge Hold
Pause at the bottom of a split lunge with both knees near ninety degrees to build single-leg stability.
-
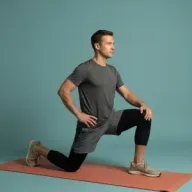
90/90 Hip Switch Extension
90/90 hip switch with a forward hinge and tall-spine lift to combine hip rotation with thoracic extension.
-
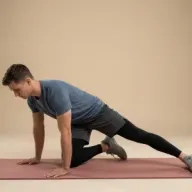
Adductor Rocks
Press hips back from all fours with one leg extended sideways to hold a gentle inner-thigh adductor stretch.
-
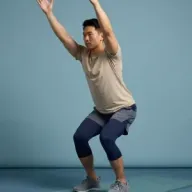
Chair Pose
Hold a partial squat with arms overhead to load the legs, glutes, and shoulders.
-
Deep Split Squat
Lower in a long split stance with the rear heel lifted to train front-leg depth, ankle mobility, and glute control.
Common questions
How is Warrior II different from Warrior I and Warrior III?
Warrior II is an open, side-facing stance: the hips and torso point to the side, the arms reach front and back, and the gaze is over the front hand. Warrior I faces forward with the arms overhead, while Warrior III is a balance pose where you stand on one leg with the torso and back leg reaching parallel to the floor.
Which body areas does Warrior II target?
Warrior II is a active stretching movement that mainly targets your hips, glutes, and quadriceps. Move within a comfortable range and skip it if it does not feel suitable for you.
Which muscles does Warrior II work?
Primary muscles associated with Warrior II include gluteus maximus, rectus femoris, and hip adductors. Flexor presents this as general wellness guidance, not a clinical assessment.
Is Warrior II suitable for beginners?
Warrior II is listed as intermediate in Flexor. Choose a smaller range of motion, fewer repetitions, or an easier variation whenever you want more control.
How long should you hold Warrior II?
In Flexor, Warrior II runs for about 45 sec per round. Adjust the time to what feels sustainable, breathe steadily, and ease off sooner if anything feels sharp.
How do you do Warrior II?
Warrior II has 4 guided steps. Follow them in order on this page, breathe steadily, and keep the movement smooth and within a comfortable range. Stop if anything feels sharp, unstable, or unsafe for you.
Is this medical advice?
No. Flexor provides general fitness and wellness guidance. It does not diagnose, treat, or prevent medical conditions. Speak with a qualified professional about injuries, persistent pain, or health concerns.