
Legs Up the Wall
Lie on your back with both legs supported vertically by a wall for a calm, low-effort resting position through the hips and legs.
Overview
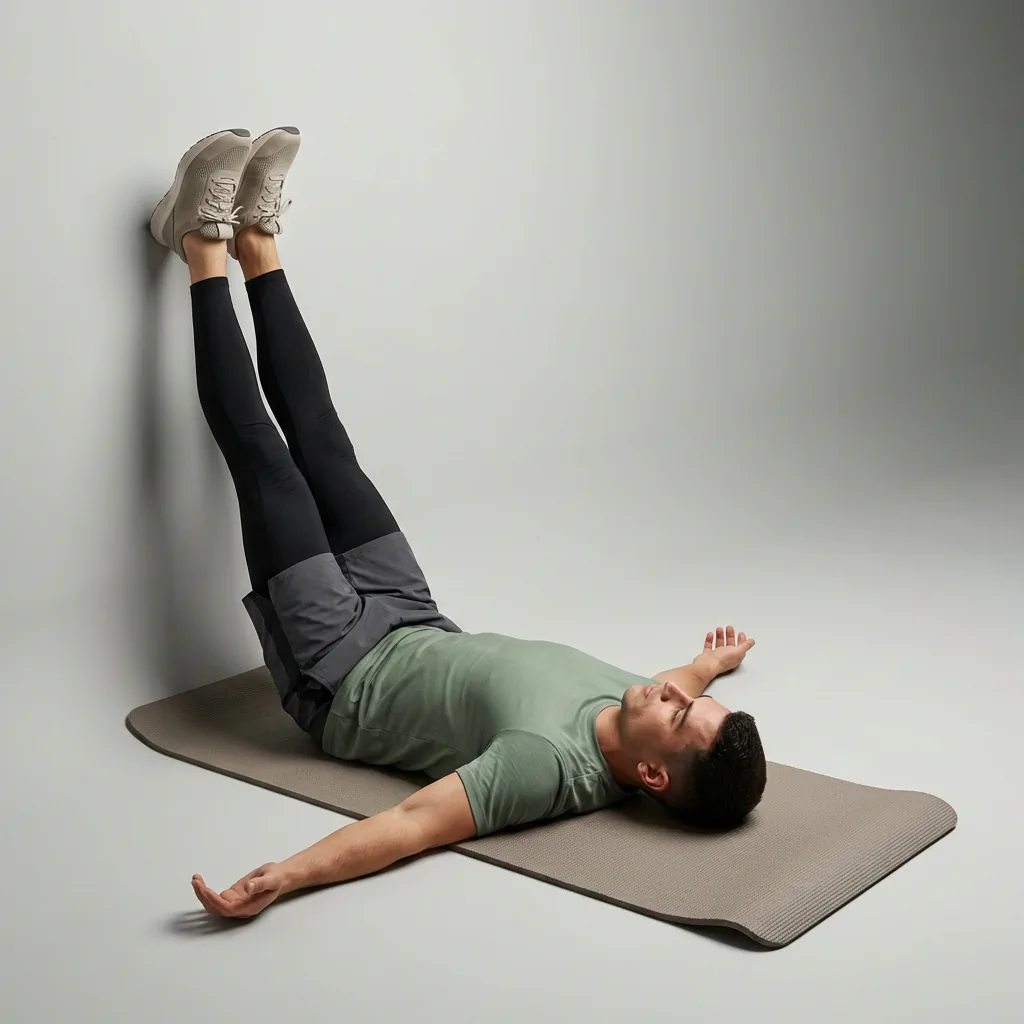
Legs Up the Wall is a passive wall-supported resting position on Flexor. You lie on your back and let the wall support both legs while the hips, knees and ankles remain relaxed.
What Legs Up the Wall involves
The position may create a mild sensation through the hamstrings, calves and hips, but it should not feel like a forced end-range stretch. Moving farther from the wall reduces the intensity.
Why add Legs Up the Wall to your routine
It offers a calm, low-effort option after long periods of standing, walking or training. Flexor presents it as a general relaxation position, not as treatment for circulation, swelling, pain or another medical condition.
- The wall supports the legs with very little muscular effort.
- Distance from the wall can be adjusted easily.
- Works well in relaxation and cool-down sessions.
Who it is for
It suits users who can get to and from the floor comfortably and want a quiet supported position.
When to do it
Use it near the end of a session or during a short relaxation break. Roll to the side before sitting up.
Legs Up the Wall is a passive wall-supported resting position rather than an active strength drill. Sit close to a wall, turn onto your back, and let both legs rest upward while the hips, knees and ankles stay comfortable.
Setup cue
Sit sideways near a wall, lower onto your back, and turn both legs upward. Adjust your distance until the hips, knees, hamstrings and lower back feel comfortable.
Practice notes
In Flexor, Legs Up the Wall is typically prescribed as about 3 min per round, 1 rep, and 1 set. Adjust the dosage to what feels sustainable, breathe steadily, and ease off if anything feels sharp or unsafe.
Guidance
How to perform, tips, mistakes, safety notes, and benefits for Legs Up the Wall.
Follow these cues in order. Move with control and stay in a comfortable range.
- Sit sideways with one hip near a clear wall and enough floor space behind you.
- Lower onto your side and back as you gently turn the legs upward onto the wall.
- Adjust the distance from the wall until the knees, hamstrings and lower back feel comfortable rather than strongly stretched.
- Rest the arms by your sides and let the legs remain supported without actively forcing them straight.
- To finish, bend the knees, roll onto one side, and sit up slowly.
Cues that help the movement stay smoother and more controlled.
- Move farther from the wall if the hamstrings or lower back feel strongly pulled.
- Let the knees soften instead of forcing the legs completely straight.
- Come out slowly if you feel light-headed after resting.
Patterns to watch for so the shape stays clearer.
- Scooting so close to the wall that the pelvis lifts or the hamstrings feel sharply stretched.
- Forcing the knees straight and holding unnecessary tension in the feet.
- Standing up immediately instead of rolling to the side first.
Keep things comfortable and stop if something feels wrong.
- Stop if you feel sharp pain, numbness, tingling, dizziness, or symptoms that radiate.
- Stay within a comfortable, controlled range; muscular effort or mild stretch tension should not become pain.
- Move smoothly without bouncing, jerking, or forcing the range.
Why people include this movement in their practice.
- Provides a low-effort position in which the wall supports the weight of both legs.
- Offers a calm option after long periods of standing, walking or training.
- Can create a mild comfortable sensation through the hips, hamstrings and calves without active loading.
Similar movements to explore next
-
Dynamic Wide Leg Forward Fold
Hinge forward from a wide stance and rise repeatedly to warm the hamstrings and hips.
-
Cross Leg Fold
Cross one ankle over the other and hinge forward to stretch the hips, hamstrings, and back.
-
Forward Fold
Stand and hinge forward from the hips, letting the head and arms hang to stretch the hamstrings and lower back.
-
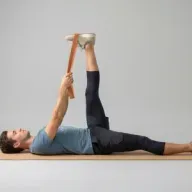
Hamstring Pulls
Lie on your back, loop a strap around one foot, and extend that leg toward the ceiling to stretch the hamstrings.
-
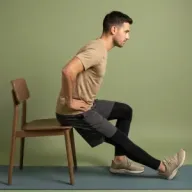
Seated Hamstring
Chair-edge hamstring stretch: one leg extended, hinge forward from the hips.
-
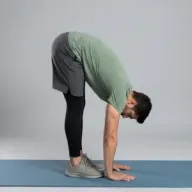
Toe Touch
Fold forward from the hips with relaxed arms to stretch the hamstrings and posterior chain.
-
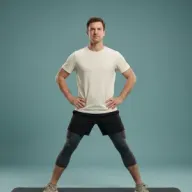
Wide Leg Torso Circles
Circle the torso from a wide stance with hands on the hips to loosen the hips, hamstrings, and lower back.
-
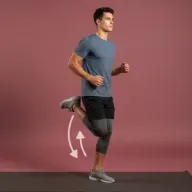
Butt Kicks
March or jog in place while flicking each heel toward the glute to warm hamstrings, calves, and running cadence.
Common questions
How close should I be to the wall for Legs Up the Wall?
Use enough distance that the pelvis can rest on the floor and the back of the legs feels comfortable. Move farther away or bend the knees if the hamstrings or lower back feel strongly pulled.
Which body areas does Legs Up the Wall target?
Legs Up the Wall is a relaxation movement that mainly targets your hips, hamstrings, calves, and lower back. Move within a comfortable range and skip it if it does not feel suitable for you.
Which muscles does Legs Up the Wall work?
Primary muscles associated with Legs Up the Wall include biceps femoris, gastrocnemius, and soleus. Flexor presents this as general wellness guidance, not a clinical assessment.
Is Legs Up the Wall suitable for beginners?
Legs Up the Wall is listed as beginner in Flexor. Choose a smaller range of motion, fewer repetitions, or an easier variation whenever you want more control.
How long should you hold Legs Up the Wall?
In Flexor, Legs Up the Wall runs for about 3 min per round. Adjust the time to what feels sustainable, breathe steadily, and ease off sooner if anything feels sharp.
How do you do Legs Up the Wall?
Legs Up the Wall has 5 guided steps. Follow them in order on this page, breathe steadily, and keep the movement smooth and within a comfortable range. Stop if anything feels sharp, unstable, or unsafe for you.
Is this medical advice?
No. Flexor provides general fitness and wellness guidance. It does not diagnose, treat, or prevent medical conditions. Speak with a qualified professional about injuries, persistent pain, or health concerns.