
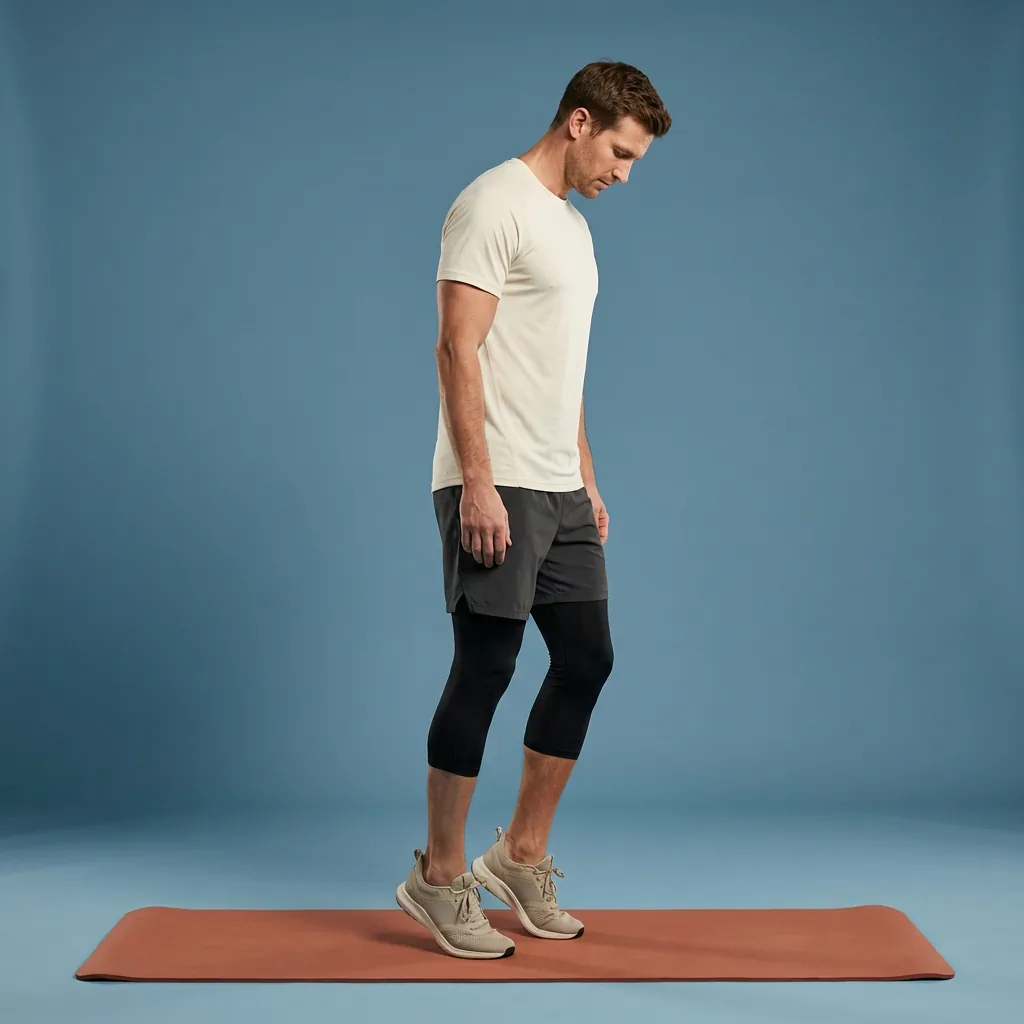
Heel-to-Toe Rocks
Rock smoothly from the balls of both feet back toward the heels to warm the calves, shins, ankles, and foot-control muscles.
Overview
Heel-to-Toe Rocks is a supported standing ankle warm-up on Flexor. You rise onto the balls of both feet, lower through the whole foot, and then rock backward to lift the toes while the heels remain grounded.
What Heel-to-Toe Rocks targets
The gastrocnemius and soleus work as the heels rise, while the tibialis anterior lifts the forefeet during the backward rock. The feet and ankles control the transition between both positions.
Why add Heel-to-Toe Rocks to your routine
The alternating pattern warms both sides of the lower leg and rehearses controlled pressure through the feet before activity.
- Active plantar-flexion and dorsiflexion in one drill.
- Wall or chair support reduces balance demands.
- Useful before walking, running, squatting, or standing balance work.
Who it is for
It is beginner-friendly and useful for anyone who wants a simple lower-leg warm-up.
When to do it
Use it near the start of a warm-up or after prolonged sitting for 30 to 60 seconds.
Heel-to-Toe Rocks are a supported standing ankle warm-up. Rise onto the balls of the feet with the heels lifting, then roll the weight backward and lift the forefeet while the heels remain grounded.
Setup cue
Stand tall with light wall or chair support. Rise onto the balls of both feet and lift the heels, lower through the whole foot, then rock back to lift the toes while the heels stay grounded.
Practice notes
In Flexor, Heel-to-Toe Rocks is typically prescribed as about 45 sec per round, 1 rep, and 1 set. Adjust the dosage to what feels sustainable, breathe steadily, and ease off if anything feels sharp or unsafe.
Guidance
How to perform, tips, mistakes, safety notes, and benefits for Heel-to-Toe Rocks.
Follow these cues in order. Move with control and stay in a comfortable range.
- Stand with the feet about hip-width apart and place the fingertips lightly on a wall or sturdy chair for balance.
- Keep the body tall as you shift forward through the balls of both feet and lift the heels.
- Pause briefly at the top without letting the ankles roll inward or outward.
- Lower through the whole foot, then shift the weight back enough to lift the toes and forefeet while the heels stay down.
- Continue rocking between the two positions with a smooth, quiet rhythm.
Cues that help the movement stay smoother and more controlled.
- Shift the whole body forward and back rather than folding at the hips.
- Keep pressure spread across the big-toe and little-toe sides of both feet.
- Make each landing quiet so the heels and forefeet do not drop onto the floor.
Patterns to watch for so the shape stays clearer.
- Bending at the waist instead of moving the body as one tall unit.
- Allowing the ankles to roll inward or outward as the heels rise.
- Dropping the heels or forefeet abruptly instead of controlling both directions.
Keep things comfortable and stop if something feels wrong.
- Stop if you feel sharp pain, numbness, tingling, dizziness, or symptoms that radiate.
- Stay within a comfortable, controlled range; muscular effort or mild stretch tension should not become pain.
- Move smoothly without bouncing, jerking, or forcing the range.
Why people include this movement in their practice.
- Moves the ankles actively between plantar flexion and dorsiflexion in one controlled sequence.
- Warms the calf and shin muscles before walking, running, squatting, or balance work.
- Builds awareness of even pressure through the feet while using support to reduce balance demands.
Similar movements to explore next
-
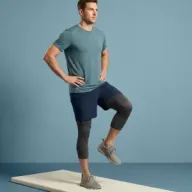
Ankle Circles
Slow ankle rotations to loosen the joint and warm the calves before walking or training.
-
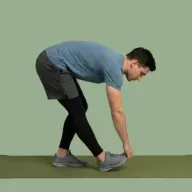
Bent Over Calf
Hip-hinge calf stretch with the front foot flexed and back heel anchored on the floor.
-
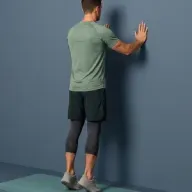
Calf Raises
Standing heel raises through full ankle plantarflexion to strengthen the calves and stabilize the feet.
-

Single Leg Stand
Simple single-leg balance hold to strengthen foot and ankle stabilizers.
-
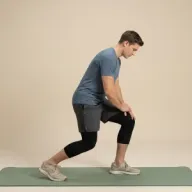
Soleus Stretch
Wall stretch with both knees bent to target the deeper soleus muscle below the calf.
-
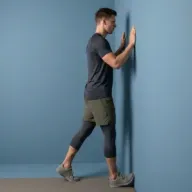
Toe-to-Wall
Place one forefoot on a wall with the heel down and lean in to stretch the calf and Achilles.
-
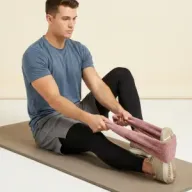
Towel Calf Stretch
Sit with one leg straight and pull a towel around the forefoot to stretch the calf with the knee extended.
-
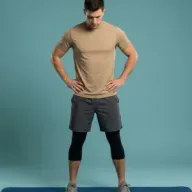
Lateral Foot Rocks
Shift weight onto the outer edges of your feet, then roll through centre to the inner edges to mobilize ankle inversion and eversion.
Common questions
Should I use a wall for Heel-to-Toe Rocks?
Light wall or chair support is recommended when balance is uncertain. Use only the fingertips so the ankles and feet still control the rocking movement.
Which body areas does Heel-to-Toe Rocks target?
Heel-to-Toe Rocks is a warm up movement that mainly targets your feet, calves, shins, and ankles. Move within a comfortable range and skip it if it does not feel suitable for you.
Which muscles does Heel-to-Toe Rocks work?
Primary muscles associated with Heel-to-Toe Rocks include gastrocnemius, soleus, and tibialis anterior. Flexor presents this as general wellness guidance, not a clinical assessment.
Is Heel-to-Toe Rocks suitable for beginners?
Heel-to-Toe Rocks is listed as beginner in Flexor. Choose a smaller range of motion, fewer repetitions, or an easier variation whenever you want more control.
How long should you hold Heel-to-Toe Rocks?
In Flexor, Heel-to-Toe Rocks runs for about 45 sec per round. Adjust the time to what feels sustainable, breathe steadily, and ease off sooner if anything feels sharp.
How do you do Heel-to-Toe Rocks?
Heel-to-Toe Rocks has 5 guided steps. Follow them in order on this page, breathe steadily, and keep the movement smooth and within a comfortable range. Stop if anything feels sharp, unstable, or unsafe for you.
Is this medical advice?
No. Flexor provides general fitness and wellness guidance. It does not diagnose, treat, or prevent medical conditions. Speak with a qualified professional about injuries, persistent pain, or health concerns.