
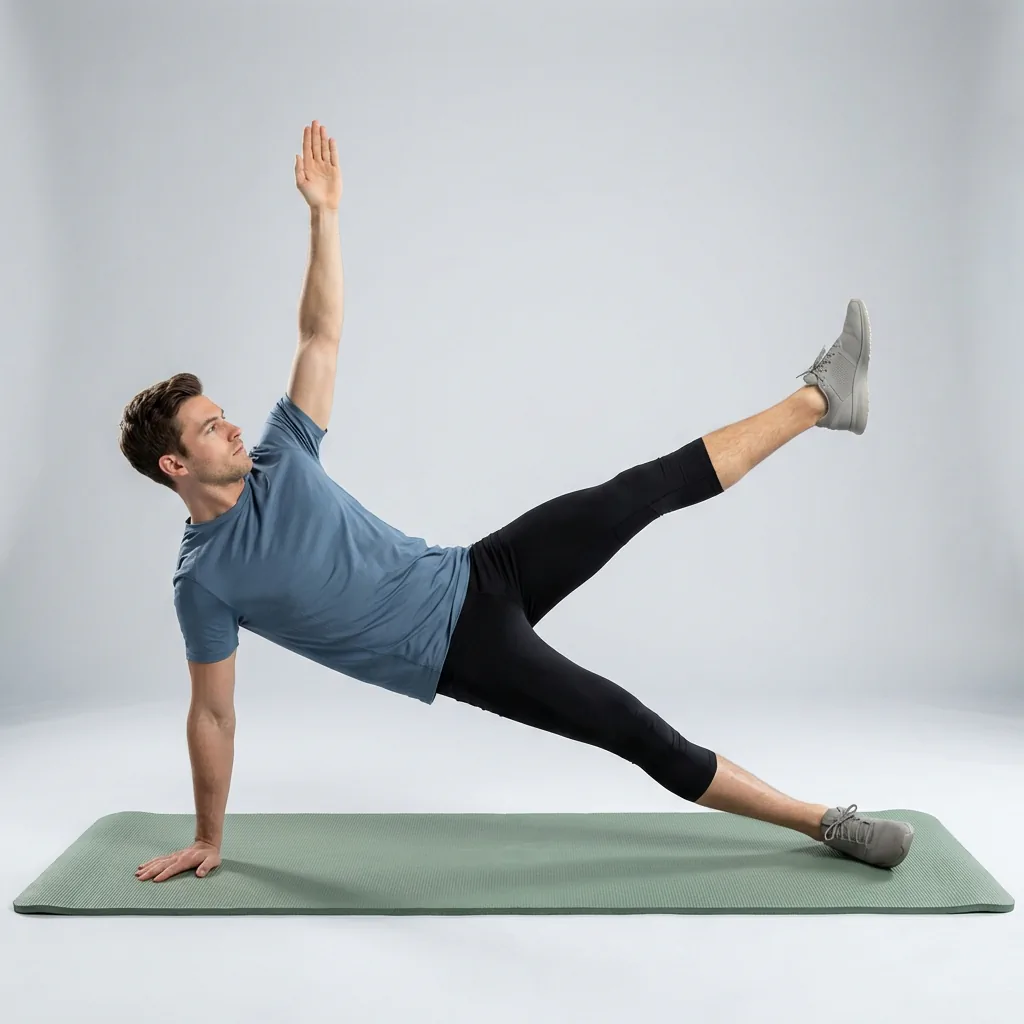
Reverse Plank Leg Lift
Hold a reverse plank while raising one leg to challenge glute control and anti-rotation stability.
Overview
Reverse plank leg lift adds a single-leg raise to the face-up reverse plank, increasing demand on the glutes, hamstrings, and core stabilizers.
What reverse plank leg lift targets
Work is felt in the glutes and hamstrings of the lifted leg, plus the obliques and shoulders keeping the pelvis level.
Why add reverse plank leg lift to your routine
It progresses the basic reverse plank by introducing asymmetry, which exposes and trains rotational stability gaps.
- Builds single-leg glute endurance and hip extension control.
- Challenges the core to resist pelvic drop and twist.
- Prepares the body for single-leg balance and running mechanics.
Who it is for
Try it once a steady reverse plank feels comfortable for 30 seconds or more.
When to do it
Fit it into a core or glute-focused session — most people spend around 60 seconds per side.
From a reverse plank, lift one straight leg without letting the hips drop or twist. The lifted leg adds glute and core demand while the supporting side maintains the hold.
Setup cue
Sit with legs extended and hands planted behind your pelvis, fingers pointing toward your feet. Press through palms and heels to lift your pelvis toward the ceiling, forming a straight line from head to heels.
Practice notes
In Flexor, Reverse Plank Leg Lift is typically prescribed as about 1 min per round, 1 rep, and 1 set. Adjust the dosage to what feels sustainable, breathe steadily, and ease off if anything feels sharp or unsafe.
Guidance
How to perform, tips, mistakes, safety notes, and benefits for Reverse Plank Leg Lift.
Follow these cues in order. Move with control and stay in a comfortable range.
- Sit with legs extended and hands planted behind your pelvis, fingers pointing toward your feet.
- Press through palms and heels to lift your pelvis toward the ceiling, forming a straight line from head to heels—keep it smooth.
- Keep legs straight and lift one leg off the floor, holding the reverse plank as you breathe.
- Lower the leg and switch sides with control—keep it smooth.
Cues that help the movement stay smoother and more controlled.
- Straighten arms and legs to maintain a long line.
- Keep your chest broad and neck neutral while you hold.
Patterns to watch for so the shape stays clearer.
- Rushing the movement or chasing range instead of staying controlled.
- Letting the lower back arch or the shoulders shrug up toward the ears.
- Holding your breath—use steady breathing to keep tension down.
Keep things comfortable and stop if something feels wrong.
- If a joint feels unstable or painful, reduce range, slow down, or choose an easier variation.
- Stop if you feel sharp pain, numbness, tingling, dizziness, or symptoms that radiate.
- Stay within a comfortable range—aim for mild tension, not pain.
- Move with control; avoid bouncing or jerking into end range.
Why people include this movement in their practice.
- Increases glute and hamstring activation on the lifted leg.
- Trains anti-rotation core control as the pelvis fights to stay level.
- Builds shoulder and wrist stability under asymmetric load.
Similar movements to explore next
-
Warrior III
Balance on one leg with the torso and back leg parallel to the floor to train single-leg stability and posterior-chain control.
-
Single Leg Glute Bridges
Single-leg hip lift from the floor to isolate glute strength and pelvic stability.
-
Split Squat Twists
Lower into a split squat, rotate the torso toward the front leg, then return upright before switching sides.
-
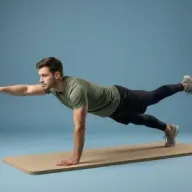
Bird Dog Plank
High-plank bird dog that holds the long line while resisting hip rotation and low-back sag.
-
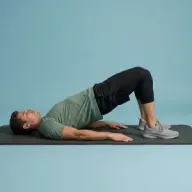
Bridge
Lie on your back, drive through both feet, and lift the pelvis by extending the hips while the ribs and lower back stay controlled.
-
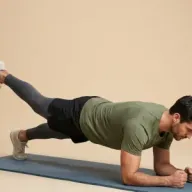
Elbow Plank Leg Lift
Hold an elbow plank and lift one leg to hip height without letting the pelvis twist.
-
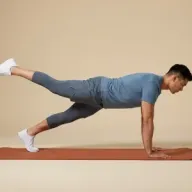
Hand Plank Leg Lift
Hold a high plank and lift one leg to hip height without twisting the hips or losing plank alignment.
-
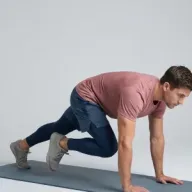
Mountain Climbers
Alternating knee drives from a high plank to raise heart rate and train core stability.
Common questions
How is the reverse plank leg lift different from a regular reverse plank?
It adds a single-leg lift to the face-up reverse-plank hold, raising one leg while keeping the hips lifted, which increases the balance and glute-control demand. Hold a steady reverse plank first.
Which body areas does Reverse Plank Leg Lift target?
Reverse Plank Leg Lift is a movement that mainly targets your core, glutes, and hamstrings. Move within a comfortable range and skip it if it does not feel suitable for you.
Which muscles does Reverse Plank Leg Lift work?
Primary muscles associated with Reverse Plank Leg Lift include gluteus maximus and rectus abdominis. Flexor presents this as general wellness guidance, not a clinical assessment.
Is Reverse Plank Leg Lift suitable for beginners?
Reverse Plank Leg Lift is listed as intermediate in Flexor. Choose a smaller range of motion, fewer repetitions, or an easier variation whenever you want more control.
How long should you hold Reverse Plank Leg Lift?
In Flexor, Reverse Plank Leg Lift runs for about 1 min per round. Adjust the time to what feels sustainable, breathe steadily, and ease off sooner if anything feels sharp.
How do you do Reverse Plank Leg Lift?
Reverse Plank Leg Lift has 4 guided steps. Follow them in order on this page, breathe steadily, and keep the movement smooth and within a comfortable range. Stop if anything feels sharp, unstable, or unsafe for you.
Is this medical advice?
No. Flexor provides general fitness and wellness guidance. It does not diagnose, treat, or prevent medical conditions. Speak with a qualified professional about injuries, persistent pain, or health concerns.