
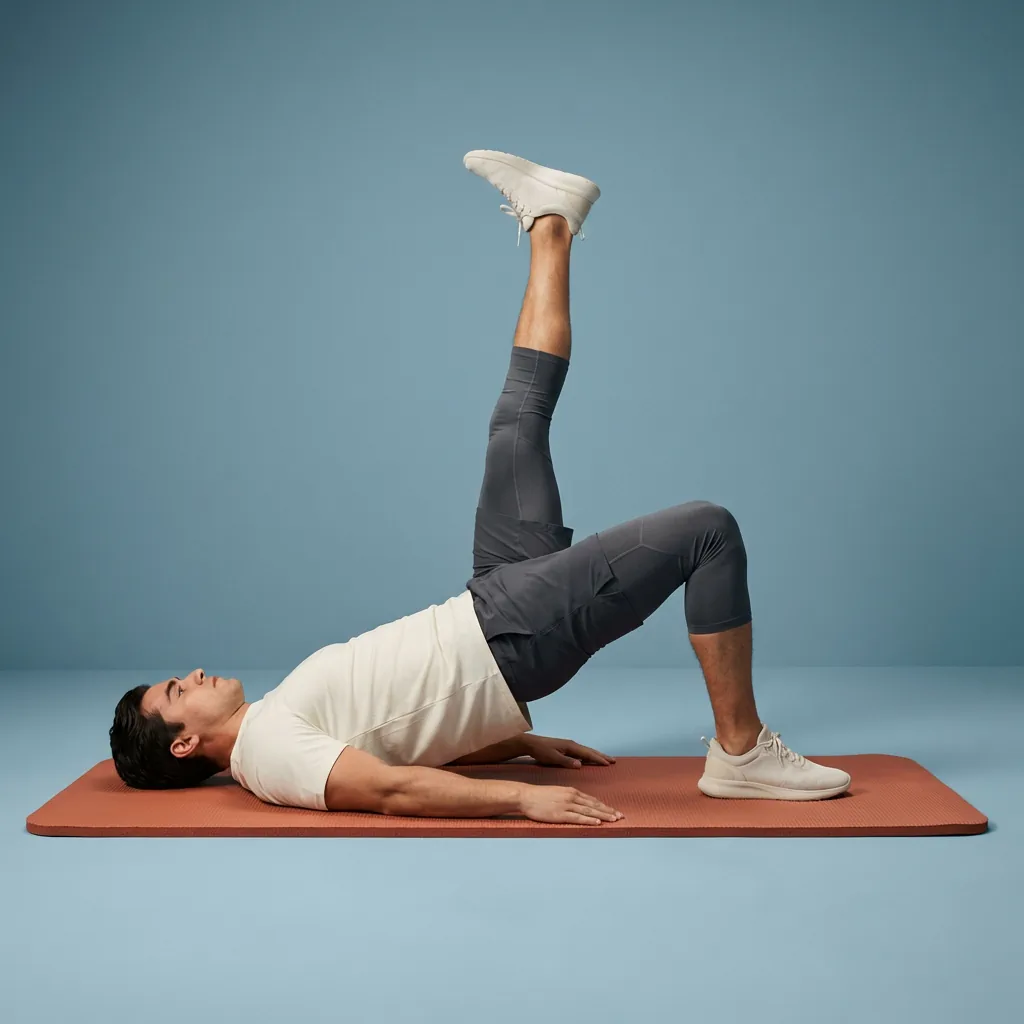
Bridge Leg Lift
Single-leg extension from a glute bridge while keeping the pelvis level and hips high.
Overview
Bridge Leg Lift is a single-leg glute bridge variation on Flexor. With hips already lifted in a bridge, extend one leg straight while keeping the pelvis level and the working-side hip high.
What Bridge Leg Lift targets
You'll feel the gluteus maximus on the supporting leg working hard to prevent the pelvis from dropping, with hamstring co-contraction on the extended leg.
Why add Bridge Leg Lift to your routine
Single-leg work from a bridge builds the glute stability needed for running, lunging, and single-leg strength training.
- Progression from a standard two-foot bridge.
- Pelvis level is the key quality cue.
- Floor-based with no equipment.
Who it's for
Intermediate movers who can hold a solid glute bridge on two feet.
When to do it
Use in glute-activation warm-ups or core sessions for 30–45 seconds.
Set up in a glute bridge with hips lifted, shift onto one foot, and extend the other leg straight while keeping the pelvis level. Lower the leg, switch sides, or alternate for the prescribed work.
Setup cue
Set up in a bridge position on your back with knees bent and hips already lifted. Shift slightly onto one foot, then extend the other leg straight while the hips stay high.
Practice notes
In Flexor, Bridge Leg Lift is typically prescribed as about 1 min per round, 1 rep, and 1 set. Adjust the dosage to what feels sustainable, breathe steadily, and ease off if anything feels sharp or unsafe.
Guidance
How to perform, tips, mistakes, safety notes, and benefits for Bridge Leg Lift.
Follow these cues in order. Move with control and stay in a comfortable range.
- Set up in a bridge position on your back with knees bent and hips already lifted.
- Shift slightly onto one foot, then extend the other leg straight while the hips stay high.
- Keep the pelvis level—do not let the working-side hip drop as the leg lifts.
- Lower the extended leg, switch sides, or alternate lifts for the prescribed work.
Cues that help the movement stay smoother and more controlled.
- Move with control and keep breathing steadily.
- Maintain stable posture; avoid compensating with other joints.
- Drive the grounded heel into the floor to keep the pelvis lifted.
Patterns to watch for so the shape stays clearer.
- Letting the working-side hip drop as the leg extends.
- Lowering the whole bridge instead of keeping hips high.
- Arching the lower back to compensate for weak glutes.
Keep things comfortable and stop if something feels wrong.
- Back-bending can aggravate low-back symptoms—reduce the range and do not force the lumbar spine.
- Stop if you feel sharp pain, numbness, tingling, dizziness, or symptoms that radiate.
- Stay within a comfortable, controlled range; muscular effort or mild stretch tension should not become pain.
- Move smoothly without bouncing, jerking, or forcing the range.
Why people include this movement in their practice.
- Challenges single-leg glute strength and pelvic stability from a bridge.
- Builds hamstring and glute endurance without spinal loading.
Similar movements to explore next
-
Back Leg Raise
Stand with light wall or chair support and extend one straight leg behind you to activate the glute without arching the lower back.
-
Curtsy Lunge Hold
Hold a curtsy lunge at the bottom to build glute and hip stability on one leg.
-
Hip Bridges
Lie on your back and drive the hips up by squeezing the glutes into a straight line from shoulders to knees.
-
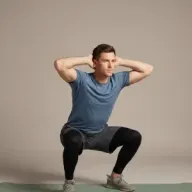
Kang Squat
Alternate a hip hinge with a squat—fold forward like a good morning, sit into a squat, then reverse the sequence to stand.
-
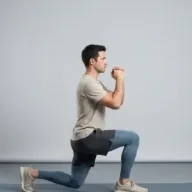
Split Squats
Lower and rise in a stable split stance to strengthen the quadriceps and glutes while each leg manages a different position.
-
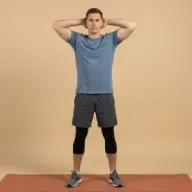
Air Squats
Bodyweight squats to rehearse hip and ankle depth, glute drive, and upright trunk control.
-
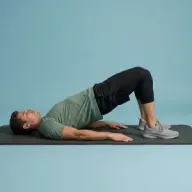
Bridge
Lie on your back, drive through both feet, and lift the pelvis by extending the hips while the ribs and lower back stay controlled.
-
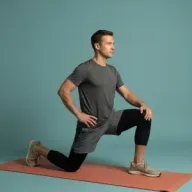
90/90 Hip Switch Extension
90/90 hip switch with a forward hinge and tall-spine lift to combine hip rotation with thoracic extension.
Common questions
Which body areas does Bridge Leg Lift target?
Bridge Leg Lift is a movement that mainly targets your glutes, hamstrings, and hips. Move within a comfortable range and skip it if it does not feel suitable for you.
Which muscles does Bridge Leg Lift work?
Primary muscles associated with Bridge Leg Lift include gluteus maximus. Flexor presents this as general wellness guidance, not a clinical assessment.
Is Bridge Leg Lift suitable for beginners?
Bridge Leg Lift is listed as intermediate in Flexor. Choose a smaller range of motion, fewer repetitions, or an easier variation whenever you want more control.
How long should you hold Bridge Leg Lift?
In Flexor, Bridge Leg Lift runs for about 1 min per round. Adjust the time to what feels sustainable, breathe steadily, and ease off sooner if anything feels sharp.
How do you do Bridge Leg Lift?
Bridge Leg Lift has 4 guided steps. Follow them in order on this page, breathe steadily, and keep the movement smooth and within a comfortable range. Stop if anything feels sharp, unstable, or unsafe for you.
Do you need any equipment for Bridge Leg Lift?
No. Bridge Leg Lift is a no-equipment movement you can do at home with just enough space to move comfortably.
Which Flexor routines include Bridge Leg Lift?
Bridge Leg Lift appears in guided Flexor sessions such as The Glute Primer and Warm-Up: Cycling Mobility. Open a routine page to follow the full sequence, or practise this movement on its own from this guide.
Is this medical advice?
No. Flexor provides general fitness and wellness guidance. It does not diagnose, treat, or prevent medical conditions. Speak with a qualified professional about injuries, persistent pain, or health concerns.